Installing QCPump
Installing with the Windows Installer
On Windows platforms please download the QCPump Installer. Download and run the installer following the prompts. You may choose to install for the current user only, or all users on this system.
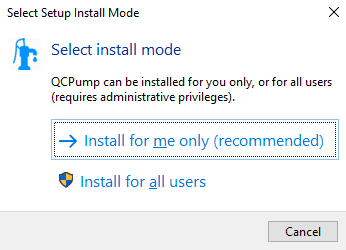
QCPump: Choose whether to install for all users or just the current user.
Installing for All Users requires administrator privileges while installing for only the current user should be possible regardless of user type. Please note that either way you install, the pump configuration will be shared across all users regardless of whether you install for the current user or all users.
After Installing
Now that QCPump is installed, go to the Configuring New Pumps page to start configuring some Pumps. After that you may want to see the following section on starting QCPump automatically.
Starting QCPump Automatically
If you want want to have QCPump start up automatically when a user logins you can do so by adding QCPump your startup folder.
First create a shortcut to QCPump on the desktop by right clicking on the desktop and selecting “New -> Shortcut”:

QCPump: Create a desktop shortcut for QCPump
and select the QCPump application (usually located at C:\Users\YOURUSERNAME\AppData\Local\Programs\QCPump\qcpump.exe if you installed for a single user, or C:\Program Files (x86)\QCPump\qcpump.exe if you installed for all users).
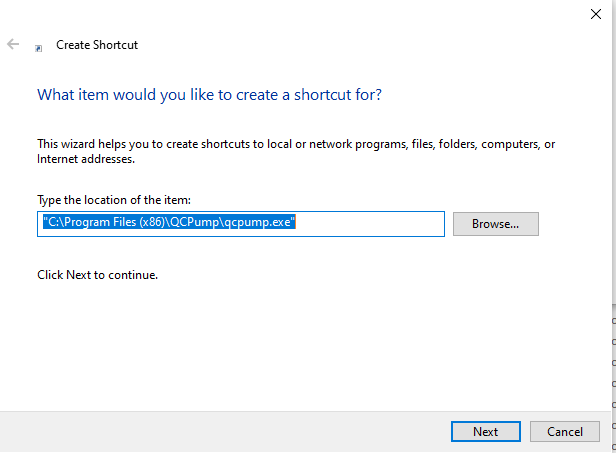
Select the QCPump application to link to
and then finish the dialog.
Next we need to move the shortcut to the appropriate startup folder.
To startup for just the current user open the Run dialog (Win Key + R), type shell:startup and click OK.
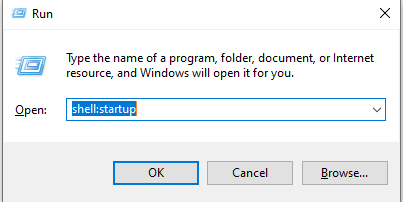
Open Startup folder
Or to startup for all users open the Run dialog (Win Key + R), type shell:common startup and click OK.
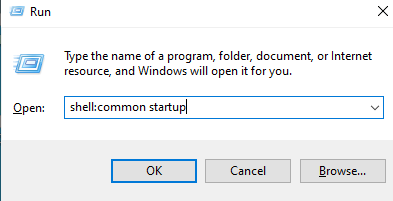
Open Common Startup folder
Now drag and drop the desktop link into the startup folder:

Startup Shortcut
Finally launch QCPump and ensure that “Run Pumps On Launch” is checked.

Tell QCPump to automatically start running pumps on launch
Obtaining and running from source
Note
You will need both Python (version 3.7-3.9) and Git installed on your computer to run QCPump from source.
In order to obtain the source code for QCPump install Git and then clone the QCPump repository:
git clone https://github.com/qatrackplus/qcpump.git
If you are on Windows, visit https://www.lfd.uci.edu/~gohlke/pythonlibs/ and download DukPy for your particular version of Python. Now create a new venv to install the QCPump requirements:
cd qcpump

# create your venv
python -m venv env

# activate venv on Windows and install requirements
env\Scripts\Activate.ps1
pip install C:\path\to\dukpy-0.2.3-cp39-cp39-win_amd64.whl
pip install -r requirements\base.txt

# activate venv on *nix
source env/bin/activate
# replace 18.04 with your Ubuntu version
pip install -U -f https://extras.wxpython.org/wxPython4/extras/linux/gtk3/ubuntu-18.04 wxPython
pip install -r requirements/base.txt
and then to run the program:
python launch_qcpump.py
Now you can proceed to the Configuring New Pumps page to start configuring some Pumps.